Firmware Customization
Customizing the Zaphod keymap/firmware.
Overview
Although ZMK does not yet have GUI keymap update software, updating the keymap can be done without installing any local build tools or toolchain. This step will walk you through setting up your personal keymap/configuration.
Prerequisites
An understanding of the high level ZMK keymaps is helpful in preparing to customize your Zaphod keymap.
To have your new Zaphod firmware built automatically for you, you will need to create a GitHub account to manage your personal repo.
ZMK Config Repo
After logging into your GitHub account, open https://github.com/petejohanson/zaphod-config/ in your browser. In the top right corner, there is a button labeled "Fork":
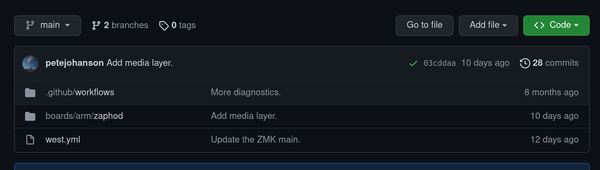
Once the fork is prepared, you should be presented with a list of files in your repository:
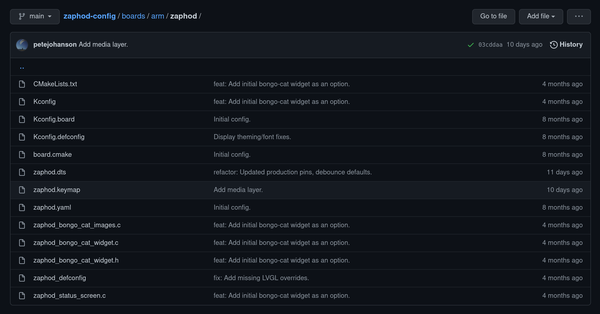
Clicking the boards/arm/zaphod/ link brings you to the full listing of files for the Zaphod:
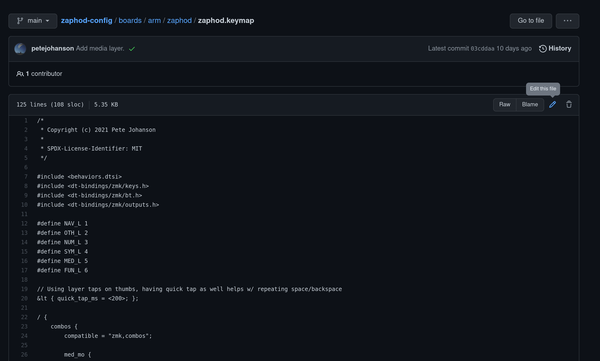
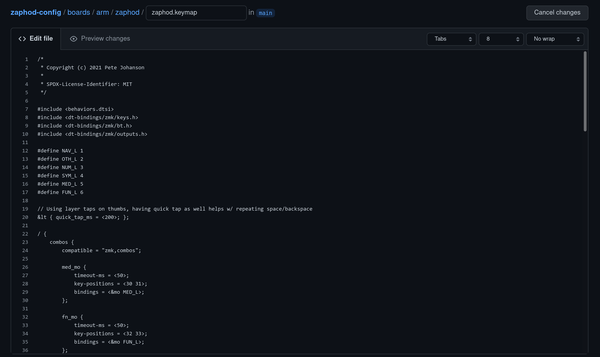
The zaphod.keymap file contains your keymap:
Enabling GitHub Actions
Before making further changes, click the "Actions" link in your fork. When presented with the option, click "I understand my workflows, go ahead and run them" button.
Keymap Editing
From the keymap file page, clicking the small pencil icon will bring you to the web editor and let you make changes to your keymap:
Once happy with your changes, enter a commit message describing them and click the commit button:

Download & Install
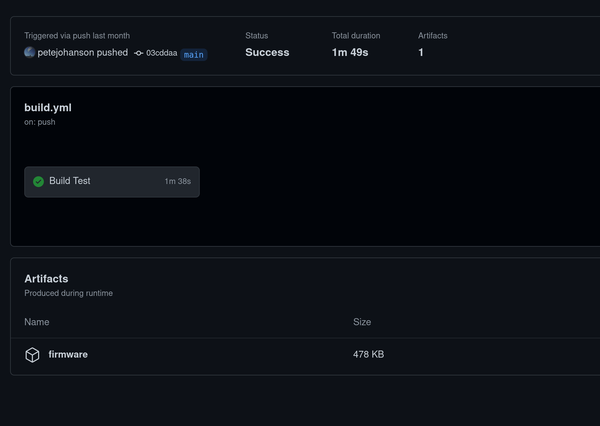
After committing the changes click the "Actions" link along the top to see the list of GitHub Actions builds. Find the new build in the listing, and click on the description:

From there, near the bottom of the screen will be download labeled "firmware", that you should click to download:
Once downloaded, unzip the downloaded file, and you will have a file, named zaphod.uf2.
Connect your Zaphod to your computer using a USB cable, and double tap the reset button on the top edge of the board. The blue LED should flash, slowing down once detected and connected to your computer.
A new USB "drive" should appear on your connected computer, with a name of "HEARTOFGOLD". Copy and paste the zaphod.uf2 images to the new USB drive, and Zaphod should complete flashing the new image and instantly restart into it.