3DP Case
Follow these instructions to complete your Zaphod assembly if you purchased the 3dp case kit.
Kit Content
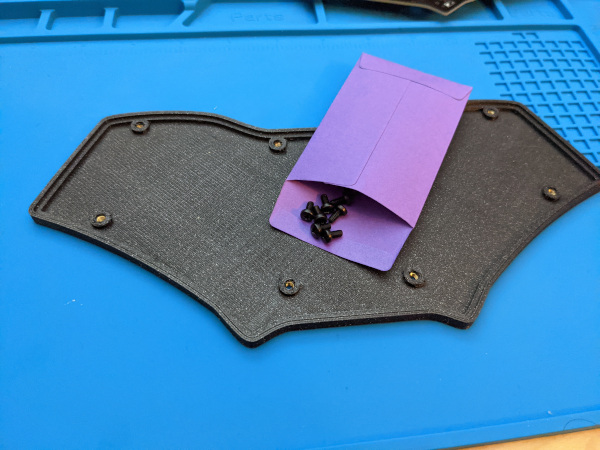
The Zaphod 3D-printed (3dp) case kit contains the following:
| Qty | Name |
|---|---|
| 1 | 3DP case |
| 8 | m3 x 5mm screws |
| 8 | bump-ons |
Assembly
Assembling Zaphod with the 3dp case is relatively simple, with only three steps involved.
- Complete assembly of the Zaphod PCB. (Yes, this is a big step)
- Add the bump-ons to the case.
- Secure the PCB using the provided screws.
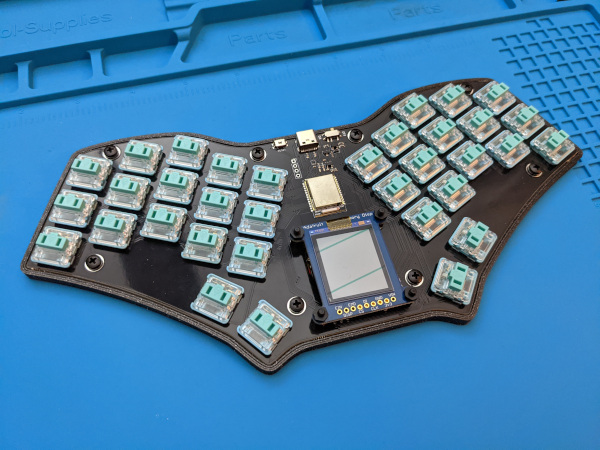
Assemble the PCB
The 3dp case is designed to be used without a switch plate, so the first step to completing the assembly is soldering the switches to the board.
- Insert all 34 switches into the Zaphod PCB. The fit should be snug, which will ensure proper alignment without a switch plate.
- Be sure to verify the switch is completely inserted, with the bottom of the switch sitting flush with the top of the PCB.
- Flip over the keyboard and solder all 34 switches from the bottom -- 64 pins total.
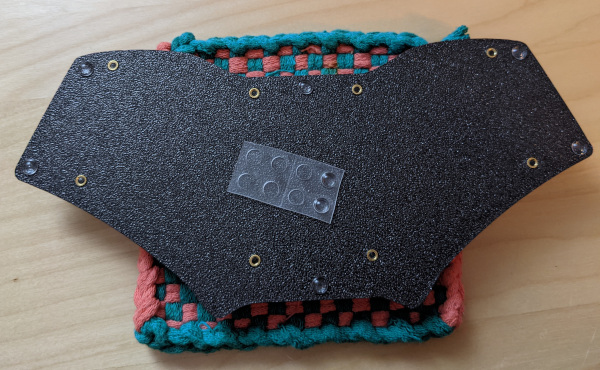
Bump-ons
Flip over the case and install the bump-ons. Eight are included with the kit, but usually only six are needed. Place one bump-on on each corner, and then horizontally centered along the top and bottom edge of the case:
Case
With the switches soldered and bumpons secured, place the Zaphod PCB into the 3dp case. Affix the PCB to the case by threading the eight M3 screws through the PCB and down into the case's heat-set threaded inserts.