Battery
Installing lithium-polymer (LiPo) batteries for Technikable
Overview
Technikable has charging circuitry to properly and safely charge batteries and is designed to work with 3.7v lithium-polymer (LiPo) batteries. Technikable will charge batteries at 100mA when power is supplied via the USB port and will stop charging when the battery is fully charged.
Specs
The following specifications will help ensure you select an appropriate battery to use with Technikable.
Size/Dimensions
The following dimensions are for a battery that can fit within the battery cavity in the Technik(able) case.
- Height
- 3.2mm
- Width
- 15mm
- Length
- 30mm
Connector
The Technikable includes a JST ACH 1.0mm socket to make connecting and disconnecting batteries easy. When the JST plug is oriented with the alignment ridge on top of the connector and the wires extending away from you, as pictured, then the black wire should be on the right, and the red wire should be on the left.
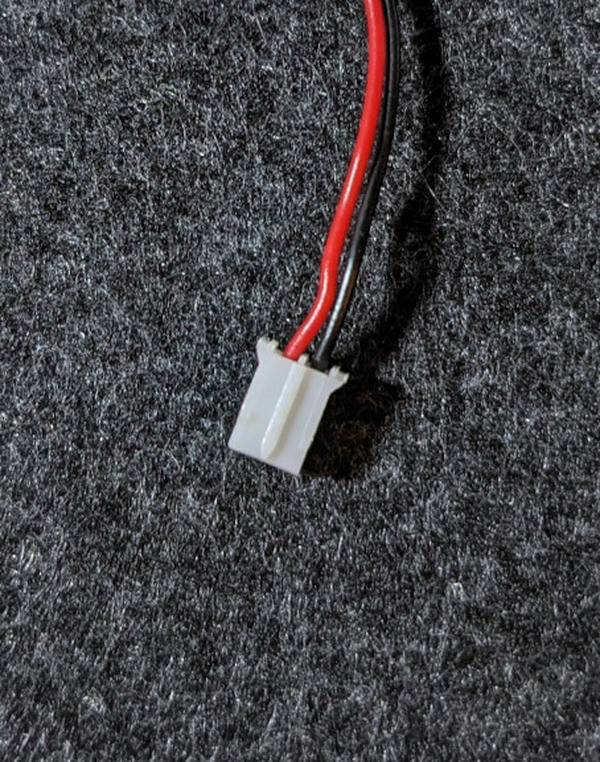
If you purchase a battery that does not have a connector, there are pads on Technikable to allow you to solder the battery directly.
Purchasing
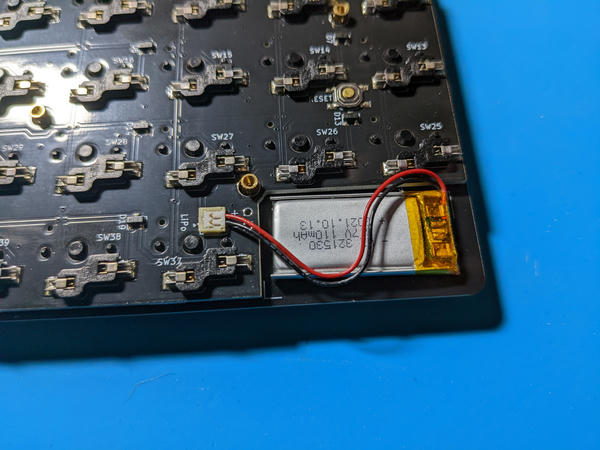
The ideal LiPo battery suitable for Technikable that will fit in the case without being compressed is the 321530 LiPo, which should have a 110 mAh capacity. If purchasing a battery separately, the following are recommended:
- Dimensions for the battery to fit within the case cavity: 3.5mm x 17mm x 34mm.
- JST ACH socket to allow you to easily plug and unplug the battery.
If your battery does not have a JST socket, Technikable also includes pads for soldering the battery connections directly onto the PCB.
Installation
Installation steps will vary, depending on the battery connectors.
Double Sided Tape
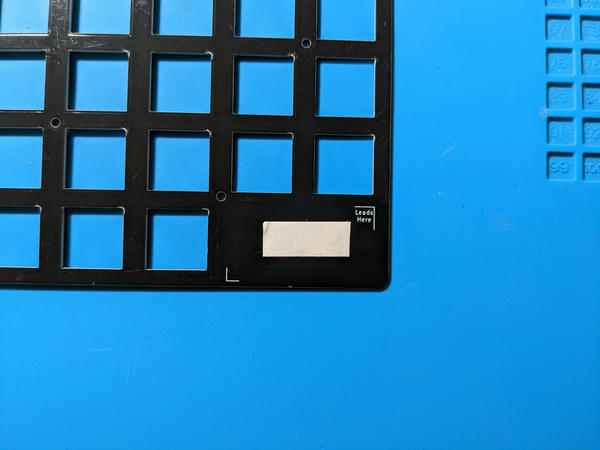
Whether using JST or bare wire battery, it's recommended to use either double-sided tape, or a small role of masking tape, to secure the battery in place. Before installing the battery, apply the tape to the bottom of the switch plate where it is labeled "Affix Battery":
JST Connector
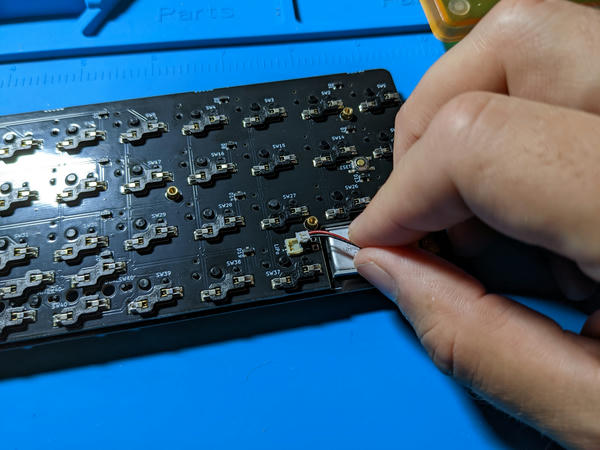
If you have purchased a battery with a JST connector, first double check that the red and black wires are on the correct side. There is a silk label in front of the JST socket on Technikable to remind you which wire should be on which side when attaching the plug.
Gently insert the JST plug into the socket from above:
Gently press down on the plug with your fingertip. It should snap fully into the socket:
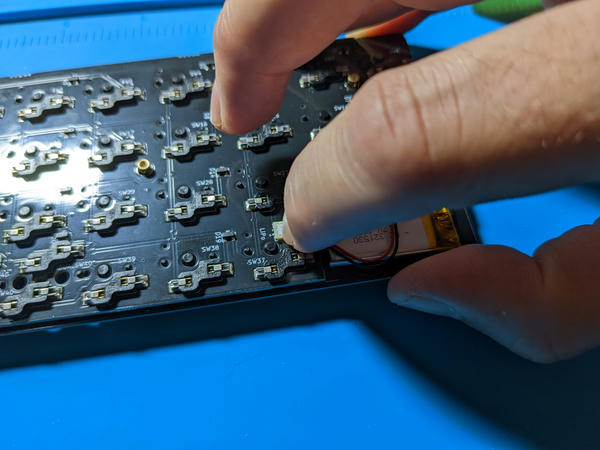
Once connected, orient the battery with the leads where the switch plate is labeled "Leads Here", and gently press the battery onto the double-sided tape attached to the bottom side of the switch plate:
Bare Wires
If you are soldering a bare wire battery to Technikable, do not allow the exposed ends of the red and black wires to touch as this may cause the battery to explode.* Most batteries without a JST socket will come with the positive red wire covered in tape. Be sure to leave that tape on until you are ready to solder that wire.
- Solder the black wire to the pin on the Technikable PCB labeled "-". It should the bottom pin when looking at the Technikable when it is oriented like normal.
- Check to ensure there is no short from the black wire/pad to the red/positive pad next to it on the Technikable PCB.
- Remove the tape from the red positive lead of the battery, being careful to prevent the red wire from touching the ground or any other part of the Technikable PCB connections.
- Carefully solder the red positive battery wire to the pin on Technikable labeled "+".
- Orient the battery with the leads where the switch plate is labeled "Leads Here", and attach the battery to the double sided tape applied to the bottom of the swith plate, to keep the battery in place.
In-Switch Status LED
Technikable includes an orange status LED within the bottom right switch that is used to indicate various charging information:
- Off
- Battery is discharging, or no USB power is being supplied to charge the battery.
- Blinking
- USB power supplied, but no battery connected/detected.
- Solid (Bright)
- USB power supplied, and the battery is actively being charged.
- Solid (Dim)
- USB power supplied, but the battery is fully charged.