Final Assembly
Securing the PCB in the case, and adding keycaps will complete the assembly
Case Insertion
Holding the PCB/switch plate/switch assembly at an angle, first insert the top edge of the assembly into the case:
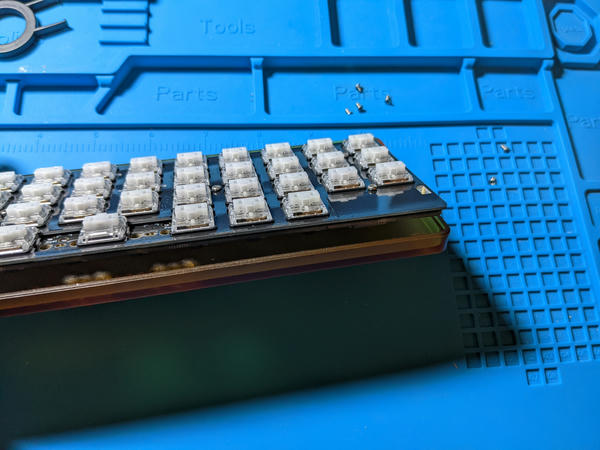
Verify the USB port is properly aligned, and is sticking out of the case. Once aligned, carefully push the front edge of the assembly down, and into the case.
You may find the switch plate requires some gentle pressing the fully seat the assembly into the case.
Case Screws
Next, screws will be added to secure the assembly to the case.
PC Case
Since the standoffs have already been secure to the swith plate previously, flip over the Technikable, and insert the countersunk/tapered screws into the six holes of the case, and gently tighten them in place with a phillips screwdriver.. Be sure not to insert a screw into the hole for the reset button.
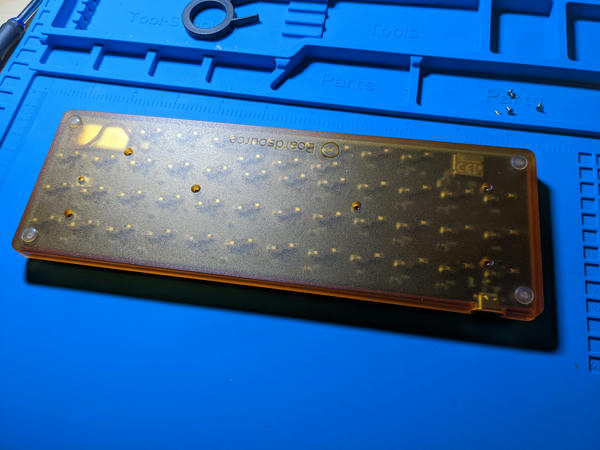
Aluminum Case
For the aluminum case, insert the pan head screws through the switch plate, and gently screw them into the case bottom for all 6 screws.
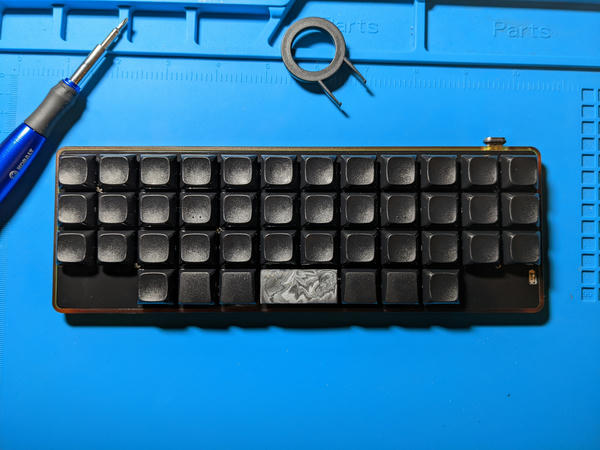
Keycaps
Once the assembly is secured, add your keycaps to the switches: